Text only origami instructions for blind crafters and friends compiled by Lindy Van der Merwe, April 2010. Adapted by Lisamaria Martinez 2020.
What You Should Know-
- Paper to be used: Rectangular, any size
- Folding level: Beginner
- Steps: 12
Instructions
Step 1
Place a rectangular piece of paper down on a hard, flat surface, with the short edges at the left and right and the long edges facing top and bottom.
If using two-sided origami paper, lay your paper with the patterned or colored side down before starting to fold.
Step 2
Fold the left edge over to meet the right edge. Crease and unfold.
Step 3
Fold both the left and right edges in to meet at the vertical crease line you have just folded. Crease well and unfold.
Step 4
Fold the two top corners of the paper downwards and inwards, aligning the edges with the first vertical creases you encounter. Crease well and leave folded.
Step 5
Fold the two bottom corners of your paper upwards and inwards, aligning the edges with the first vertical creases you encounter. Crease well and leave folded.
Step 6
Bring the left edge of the model over to meet the vertical center crease line.
Crease and leave folded.
Step 7
Bring the right edge of the model over to meet the vertical center crease line. Crease and leave folded.
You should now be able to distinguish two triangular shapes, one at the top of the model and one at the bottom.
Step 8
Turn the model over like turning the pages of a book.
Step 9
Bring the top edge of the model down toward the bottom edge until the triangular shape created in the previous step is entirely visible. Crease and leave folded to create a rectangular flap that will comprise three triangles at the top part of your model.
As you bring down the top edge of your paper, you will notice that a triangular shape is revealed. When folding down your top edge, make sure you can just feel the vertical crease at the top of the triangle with a fingertip. Crease very well because you are working with more layers of paper now.
Step 10
Bring the bottom edge of the model up toward the top edge until it hits a point midway between the top and bottom of the flap created in the previous step. Crease well and unfold.
Step 11
Bring the bottom edge up toward the top of the model once again, but this
time tuck the bottom edge in underneath the two top triangular pockets you
formed in Step 9.
Don’t be afraid to lift the two top flaps, one at a time, for this step. It is ok to bend the bottom corners of the model just a little in order to let the paper slide underneath the top triangular pockets.
Press flat.
Step 12
Bring the left edge of the model over to meet the right edge. Crease well and leave folded.
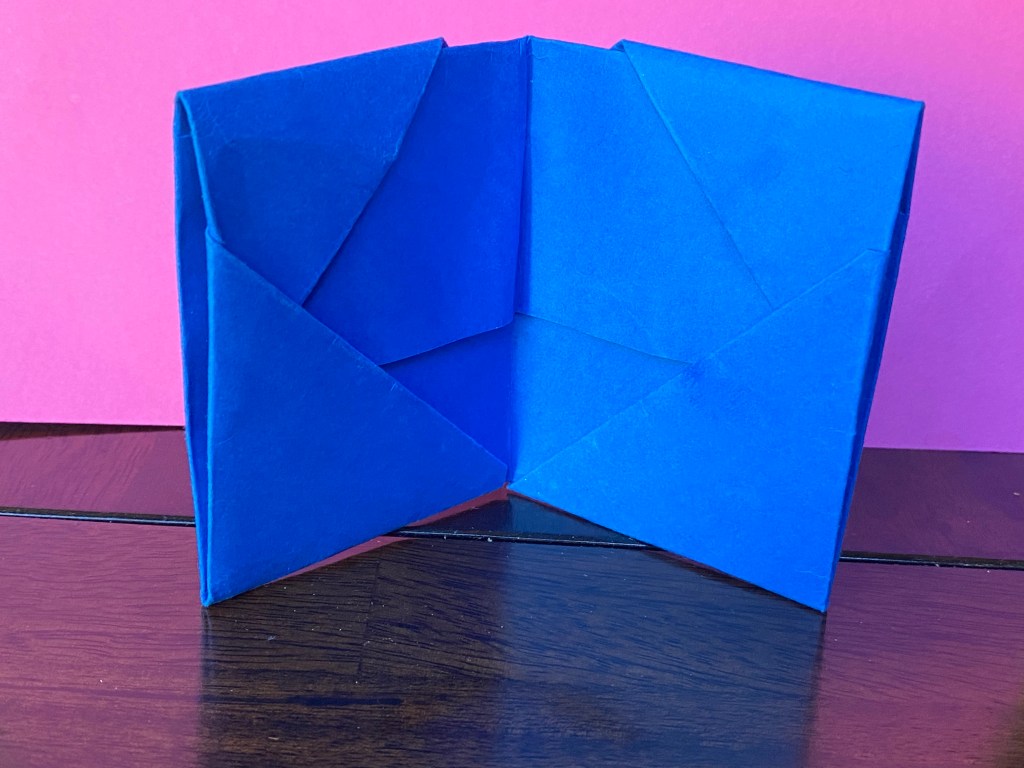
You have just finished your very own origami mini folder or wallet!
Notes
General Uses:
- This wallet or folder can be used to hold small receipts, other documents, photos, notes or coins, or any other small pieces of paper or flat objects.
- Fold one for yourself or use decorative paper to make one as a surprise gift for someone else.
Blindness Hacks:
- For blind people, the two small triangular corners that have been formed at the bottom left and/or right edge of the model can be used for orientation purposes.- to distinguish between two different bank or credit cards, allocate a pocket to each card. Take note of the position of the small folded triangle at the bottom of the mini folder. Take care to always return the removed card to its allotted pocket.
- This wallet, with its various pockets, might also be useful for sorting, storing and separating different denominations of bank notes or coins.
