Text only origami instructions for blind crafters and friends written by Lisamaria Martinez, April 2020. Frog instructions from this YouTube video.
What You Should Know
- Paper to be used: square, any size
- Folding level: Beginner+ / Intermediate
- Steps: 20
Instructions
Step 1: Place a square piece of paper down on a hard, flat surface with the edges oriented to the left, right, top, and bottom.
If using two-sided origami paper, lay your paper with the patterned or colored side down before starting to fold.
Step 2: Fold the left edge over to meet the right edge. Fold well and keep folded.
Step 3: Fold the upper right corner down and to the left so that what was the top edge is now aligned with the left vertical edge. Crease well and unfold.
Step 4: Now fold the upper left corner down and to the right so that what was the top edge is now aligned with the right vertical edge. Crease well and unfold.
Step 5: Repeat steps 3 and 4 with the bottom corners.
Tip: turn the rectangle so that the X you just made is now at the bottom of your rectangle and what were the bottom corners become the top corners. Just remember to turn the rectangle to its original position (a folded rectangle with openings at the top, right, and bottom edges).
Step 6: Now, it is time to collapse the X at the top of the rectangle. Place your fingers on the left and right edges, between the creases that form the X, and gently press inward. The X should collapse so that the edges go inward and in between two triangles that are formed. You should now have a triangle at the top of the rectangle comprised of two layers. The top layer will be a loose triangle.
Step 7: Turn your model so that the triangles are at the bottom of the model. Repeat step 6.
Your model should now look like a diamond comprised of 2 layers. The bottom layer is one big diamond. The top layer is made up of 2 triangles with the long sides touching at the center of the overall diamond shape. Make sure that the diamond is oriented so that there is a top diamond and a bottom diamond.
Step 8: The top triangle is made up of two sides, the left and the right. First, take the left bottom point of the top triangle and fold it up and in so that the left point meets with the top point. What was the bottom edge of the top triangle will now lie vertically along the center. Crease and keep folded.
Step 9: Now, take the right bottom point of the top triangle and fold it up and in so that the right point meets with the top point. What was the bottom edge of the top triangle will now lie vertically along the center. Crease and keep folded.
Step 10: Your model now has a small diamond lying at the top of the model. Rotate your model 180 degrees so that this diamond is located at the bottom of your model.
Repeat steps 8 and 9.
Your model should now have the overall shape of a large diamond. This is your bottom layer. On top of the large diamond are two smaller diamonds at the top and bottom. Each of these small diamonds are made up of two triangles with long edges that meet at the center forming a vertical center edge splitting the diamond into two halves.
Step 11: Working with the top left triangle, fold the triangle in half so that the center vertical edge of the triangle lines up with the diagonal bottom left edge of the triangle. Remember, the triangle makes up the left half of a diamond.
Step 12: Working with the top right triangle, fold the triangle in half so that the center vertical edge of the triangle lines up with the diagonal bottom right edge of the triangle. Remember, the triangle makes up the right half of a diamond.
Step 13: Rotate the model 180 degrees.
Repeats steps 11 and 12.
You have just folded the legs of the frog. The legs should form an X on top of a larger diamond. Each leg is folded such that they are springy to the touch.
Step 14: Turn the model over like turning the pages of a book.
Step 15: Bring the left point of the diamond over to meet the right point of the diamond. Crease and unfold.
Step 16: Fold the left top edge of the diamond over to meet the center vertical crease. Crease and keep folded.
Step 17: Fold the right top edge of the diamond over to meet the center vertical crease. Crease and keep folded.
The top layer of your model should now look like a diamond with a narrow top made up of two triangles. Below these two triangles is a smaller triangle forming the bottom part of the diamond.
Step 18: Fold the bottom point of the diamond up so that it creases right along the bottom edges of the two triangles that sit above. Slightly unfold the 2 triangles so that you can tuck the point of the newly created, smaller triangle beneath the flaps of the 2 larger triangles. Be sure to close the flaps of the larger triangles again.
Step 19: Pick up your model and fold the frog in half so that the front legs and the back legs touch each other. Your model should look like your frog is touching its toes.
Step 20: Now, fold the back or bottom half of the frog so that the very bottom edge is folded backwards so that it forms an accordion shape.This is the edge that can be found right between the back legs of the frog. This edge, when folded back, will line up evenly with the fold created in step 19. This fold helps form an accordion spring for your frog so that it can jump long distances.
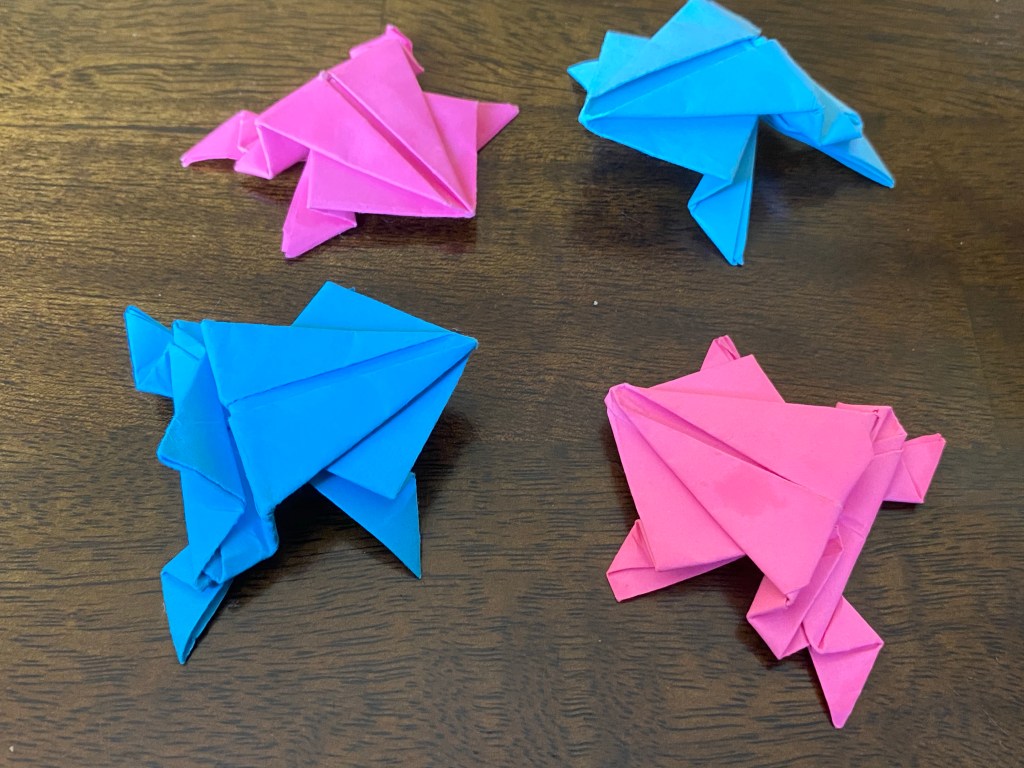
Your frog model is now complete and you can place your fingertip on the back end of the frog. Slide your finger toward you and quickly release your finger. The frog will jump!
